Loading...
Next.js 15 Authentication with NextAuth and Upstash Redis
Published: Jul 17, 2023
Updated: Oct 24, 2024
Authentication plays a crucial role in modern applications. And for Next.js developers, NextAuth.js is a go to solution. It seamlessly integrates with Next.js and when paired with Upstash Redis, a serverless Redis database service, it boosts both speed and security. This combination helps create efficient and optimized authentication for Next.js applications. In this post, we’ll look at how to set up authentication in Next.js using NextAuth.js and Upstash Redis.
Warning: Before moving forward, make sure you have installed Node.js (version ≥ 18) on your machine.
Setup Next.js App
Let’s create a Next.js app with App directory by using the following command:
npx create-next-app@latest nextauth-upstash-redis --typescript --tailwindNow, our basic Next.js app has been created. Let’s add some necessary packages:
npm i next-auth@beta @upstash/redis @auth/upstash-redis-adapterCreate Auth Service
Create lib/auth.ts file in the same level of app folder and paste the following code:
import { UpstashRedisAdapter } from "@auth/upstash-redis-adapter";
import { Redis } from "@upstash/redis";
import NextAuth from "next-auth";
import GitHub from "next-auth/providers/github";

const redis = Redis.fromEnv();

export const { handlers, signIn, signOut, auth } = NextAuth({
  adapter: UpstashRedisAdapter(redis),
  providers: [GitHub],
});
Here, we are using UpstashRedisAdapter to connect our NextAuth with Upstash Redis and GitHub as our authentication provider.
Create Auth route
Now, create api/auth/[...nextauth]/route.ts file inside the app folder. Paste the following code:
import { handlers } from "@/lib/auth"; // Referring to the auth.ts we just created

export const { GET, POST } = handlers;
With this, we have implemented Auth route for our app.
Setup Env Variables
Now, We need to create .env file at the root of our app with the following:
AUTH_GITHUB_ID="GITHUB_CLIENT_ID"
AUTH_GITHUB_SECRET="GITHUB_CLIENT_SECRET"

UPSTASH_REDIS_REST_URL="UPSTASH_REDIS_URL"
UPSTASH_REDIS_REST_TOKEN="UPSTASH_REDIS_TOKEN"
To get Github Provider credentials, go to https://github.com/settings/developers and create a new Oauth App like this:
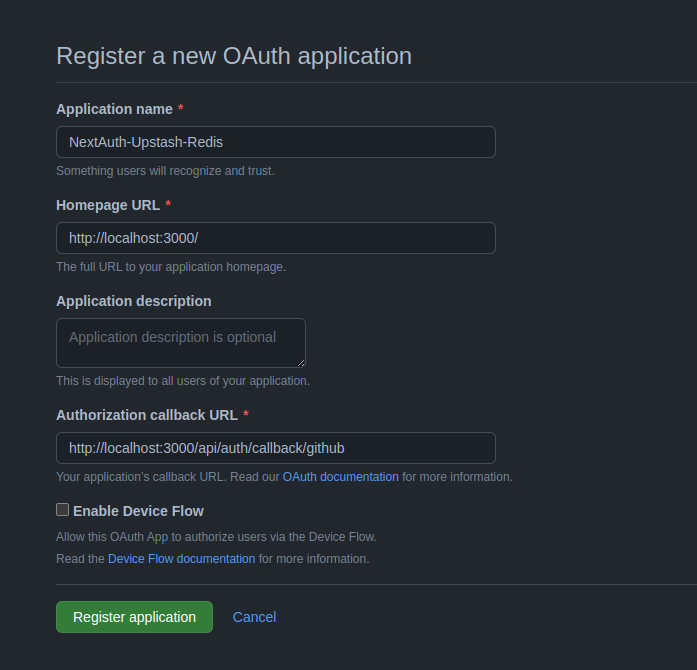
after registering your app, you will get the Client ID and can generate the Client Secret by clicking on the generate new client secret button.
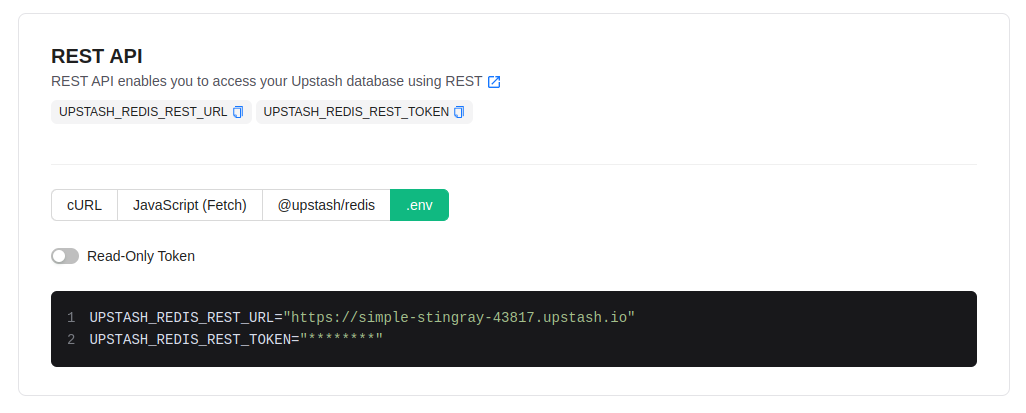
To get Upstash credentials, go to Upstash and create a new account if you don’t have any. Then create a new Redis database. now, go below and you will see a block named “REST API”, click on the .env tab and copy the values.
One last thing, you need to add AUTH_SECRET in your .env file which you can add by running npx auth secret command.
That’s it. Now, we can start working on our ui part.
Create Auth Page
Now, Let’s create signin and signout button to authenticate our users. Replace everything in the app/page.tsx file with the following:
import { auth, signIn, signOut } from "@/lib/auth";
import Form from "next/form";

export default async function Home() {
  const session = await auth();
  return (
    <main className="flex min-h-screen flex-col items-center bg-slate-900 text-gray-100 gap-y-20 p-24">
      <h1 className="md:leading-snug text-3xl max-w-[1000px] md:text-5xl  [&>a]:text-green-500 font-bold text-center">
        <a href="https://nextjs.org" target="_blank">
          Next.js
        </a>{" "}
        Authentication with{" "}
        <a href="https://authjs.dev/" target="_blank">
          NextAuth.js{" "}
        </a>{" "}
        +{" "}
        <a href="https://upstash.com/" target="_blank">
          Upstash Redis
        </a>
      </h1>

      {session ? (
        <div className="space-y-4">
          <div className="flex flex-col items-center gap-y-2">
            <span className="text-xl font-bold">{session.user?.name}</span>
            <span className="text-gray-400">{session.user?.email}</span>
          </div>
          <SignOutButton />
        </div>
      ) : (
        <SignInButton />
      )}
    </main>
  );
}

function SignOutButton() {
  return (
    <Form
      action={async () => {
        "use server";
        await signOut();
      }}
    >
      <button
        className="bg-slate-800 w-full hover:bg-slate-700 text-gray-100 font-bold py-2 px-4 rounded"
        type="submit"
      >
        Sign out
      </button>
    </Form>
  );
}

function SignInButton() {
  return (
    <Form
      action={async () => {
        "use server";
        await signIn("github", { redirectTo: "/" });
      }}
    >
      <button
        className="bg-slate-800 hover:bg-slate-700 text-gray-100 font-bold py-2 px-4 rounded"
        type="submit"
      >
        Sign in with GitHub
      </button>
    </Form>
  );
}- Here we are getting the session using
authand check if session is valid or not. - Then, if session is invalid, then show
Sign Inbutton. - If session is valid, then show
UserandSign Outbutton.
Now, start dev server using npm run dev and visit http://localhost:3000 to see the preview.
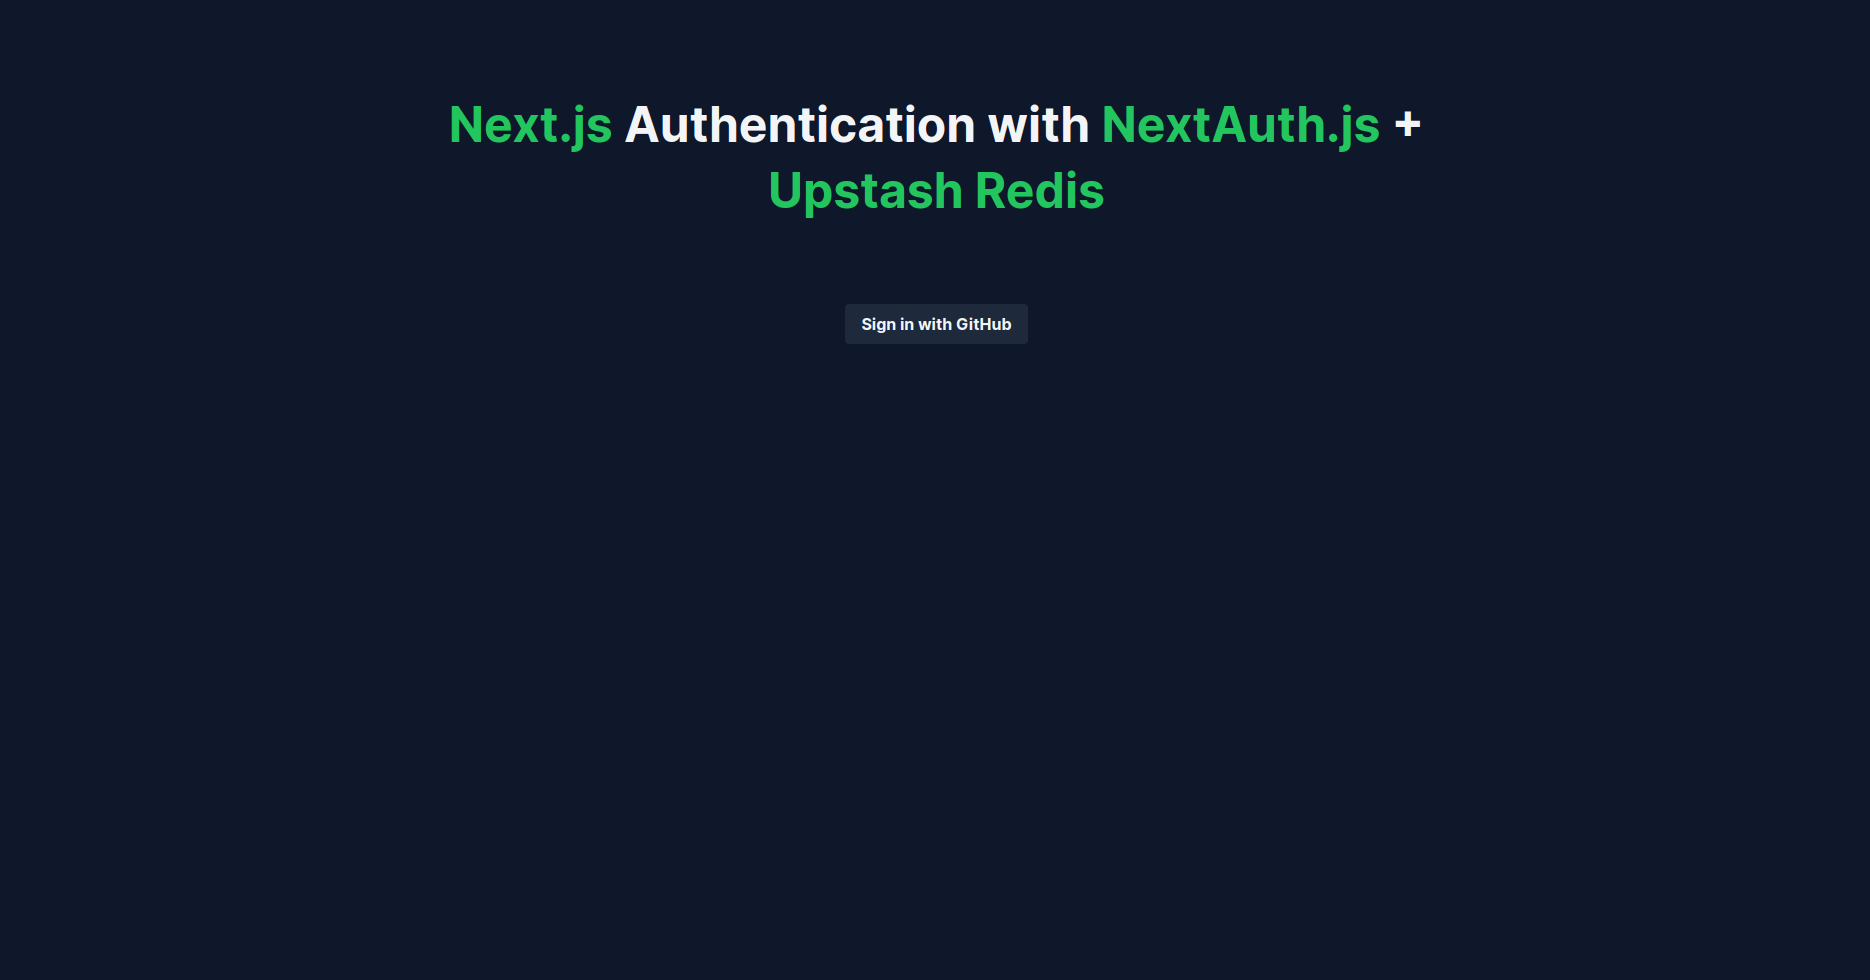
If you have followed all the steps carefully, now your app should work perfectly.
Wrap Up
Check out the preview here. The code is available on GitHub.
If you face any trouble, please let me know on Twitter